Part 2 – Height of Comb
In the last article we talked about the importance of the length of pull, today we are going to talk about setting the height of comb. When I say height of comb what I mean is, where your eyeball sits as your face rests on the stock of the rifle (or your cheek risers for those of you with chassis, who realized its now 2022). This is incredibly important that this height is at a level that allows your eyeball to rest naturally in line with the “eye box” of the optic (more on that in a second), so that you can consistently and repeatedly mount the rifle the same way every time you get behind it.
From here the easiest way to start, is to hop on the rifle (shouldn’t have to remind you to make sure it’s unloaded first but then again its 2022), and see where your face comes to rest as is, some of you might be the lucky ones that won’t require an adjustments. Now before going further, allow me to explain what part of your face we’re talking about, just so we are all on the same page.
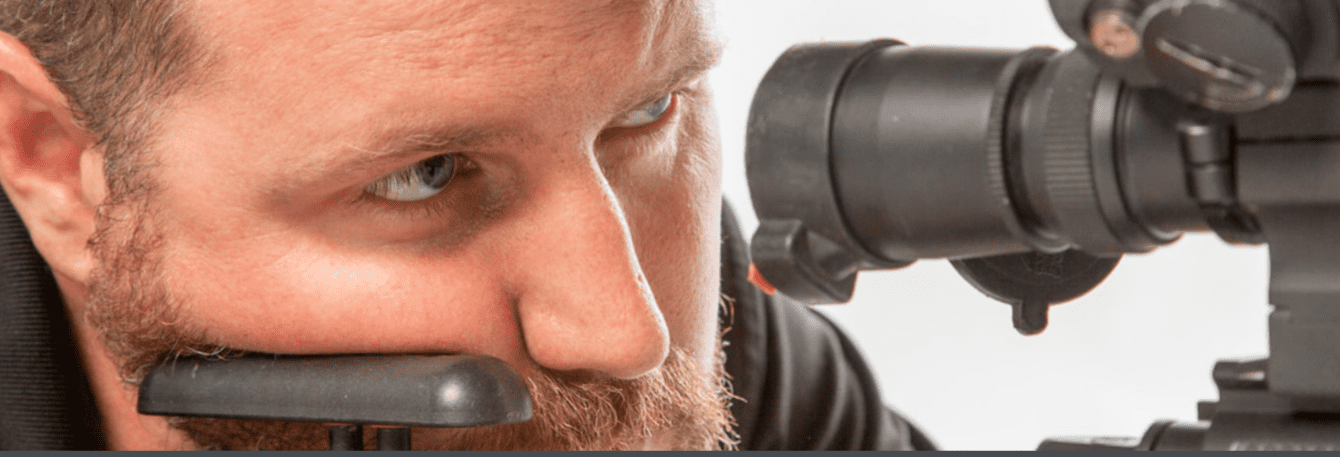
What you are looking to drop on that stock is your zygomatic bone, it’s the part just above the squishy part of your face on the way up to your ocular cavity. If you got some chunk rolled up in there that’s fine but it’s important to anchor off of that prominent bone structure. As you face comes to rest on the stock, close your eyes and take a couple of relaxing breaths. Now open them up and let’s examine what you have going on.
Too Low
This is probably the most common issues that seems to pop up, you’ve opened your eyes and you see this fuzzy blur along the bottom of the ocular lens as you attempt to gain a sight picture or maybe even worse, you can’t see at all!
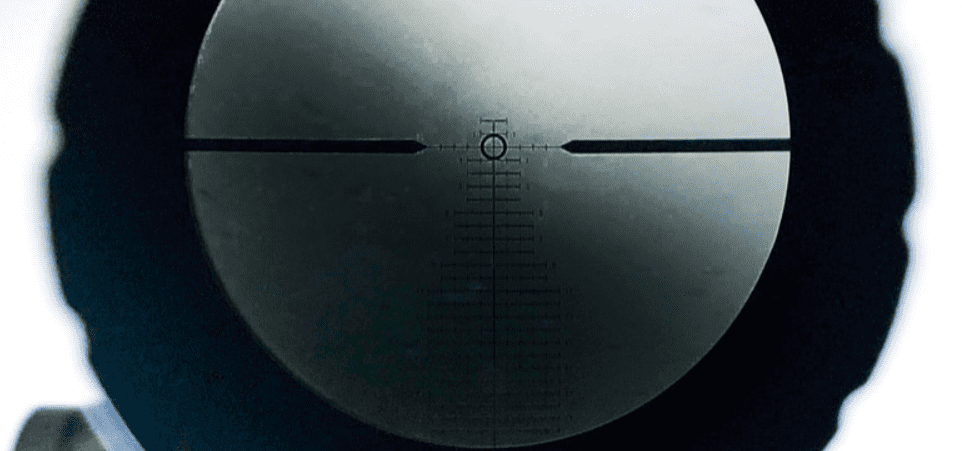
In a past life, you’d be tempted to float your head slightly to bring your eye up into the optic. But remember this is precision rifle we’re talking about and in doing so you’ll be using muscular tension, which if you know anything about Fundamentals of Marksmanship, muscular tension is not conducive to being consistent or repeatable. Essentially what your head is doing is bobbing around all “Willy Nilly” between shots and that means your eyeball is in a different spot every time, preventing you from ever having the same sight alignment twice (which makes shooting stuff hard).

So, what to do? Well, we need to bring that eyeball up to alignment with the Y axis of the optic. If you have an adjustable chassis system, just like the length of pull this should be easy. For those of you still stuck in the last century, or running a basic bitch AR15/SR25 platform, stand by because it’s about to be arts and craft time.
Traditional Stocks
Now don’t get me wrong, I really like the look and feel of a traditional rifle stock but not all of them lend themselves to adjustable features. Which means we need to grab that foam and duct tape because we need to add some material in order to raise that zygomatic to where it needs to be.
Here’s the material list you need:
- Closed Cell Foam (Old Computer Mouse Pad)
- Duct Tape
- Double Sided Tape
- Scissors

Step 1. Building the “Saddle”
– This piece is going to be the lead actor to star in your one-man production titled “Save yourself the embarrassment and buy a chassis”. In the example we’re using some old mouse pads because everyone probably has a couple lying around somewhere and of course recycling is good for the planet.
Additionally, another one of my favorite options are SAM splints which are only like $12 on Amazon. Regardless though, you are going to want to fold the saddle over the stock and cut it so the ends almost touch.
Step 2. Cutting the “Shims”
– Here we want to cut a series of shims about ½ inch wide and the same length as the saddle to build up inside in order to raise it to the correct height. Cut about 4-5 shims to start but the higher you have to go, the more of these Bad Larry’s you’ll need.
You might be tempted to cut the corners and just layer the stock with extra saddle, instead of cutting shims but often times this buildup of material ends up pushing the shooters face out too far laterally left or right.
Step 3. Stack’em Up
– With all the parts cut, now we build. First you are going to want to open and move the bolt/charging handle all way to the rear to insure the action can still function. Then take a strip of double sided tape and lay it across the top of the crest of the comb. This will help keep them in place. At this point go ahead and continue making this double-sided tape/foam shim sandwich until you come to the correct height.
Step 4. It’s a Wrap!
– Finally, when you’ve gained the correct height, grab the saddle and place it over your stack of shims. Being careful not to misalign that sweet stack of goodness, give it one or two good wraps with the duct tape to keep it in place. This should compress the saddle a little bit, so double check that the height is still good.
Then if you are still looking good, commence to wrapping that Bad Mama Jama!
(Pro Tip – If you’re a right handed shooter you are going to want to wrap towards the left, this way you’ll have some resistance against those weighty pork chop cheeks and it will prevent your arts and crafts project from sliding off to the right).
Semi-Auto Caveat
By this time those of you with the AR15/SR25 Platforms may have realized this isn’t working out too well because either the charging handle prevents you from getting your cheek piece far enough forward or when you go to wrap your stock the locking mechanism gets in the way. Solutions are as follows and they will involve a monetary investment to some degree greater than we’ve already discussed.
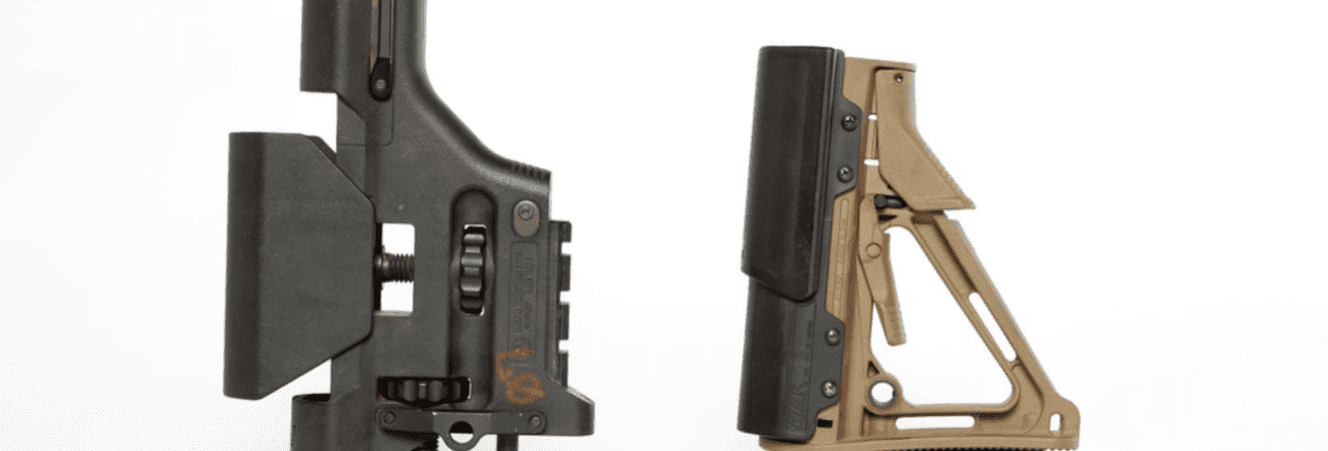
For fixed stock options your best bet is the Magpul PRS, while it expensive and a bit heavy, it is also the most solid and durable option. As for carbine stocks again, we look to our most benevolent masters at Magpul and opt for the CTR, with the LaRue Tactical RISR. The RISR may be high enough as is but even if it not you are probably pretty close and adding a shim via double sided tape or Velcro usually does the trick.
Too High
While it is pretty rare, this does happen from time to time. So, what if you find the height of your comb too high? Well…there is not much you can do in terms of stock mods if you are already bottomed out. The answer in this case is you’ll need to bring the optic up to your eye via the mounts. If you can read between the lines here, I’m telling you to find a taller set of rings or mount.
Figuring out how much height you need to come up can be tricky, but here is my best advice. If you have only a bit of shadowing, say 50% or less along the top of the ocular lens, then I’d opt for at least mounts or rings that sit no more than a ¼ of an inch higher.
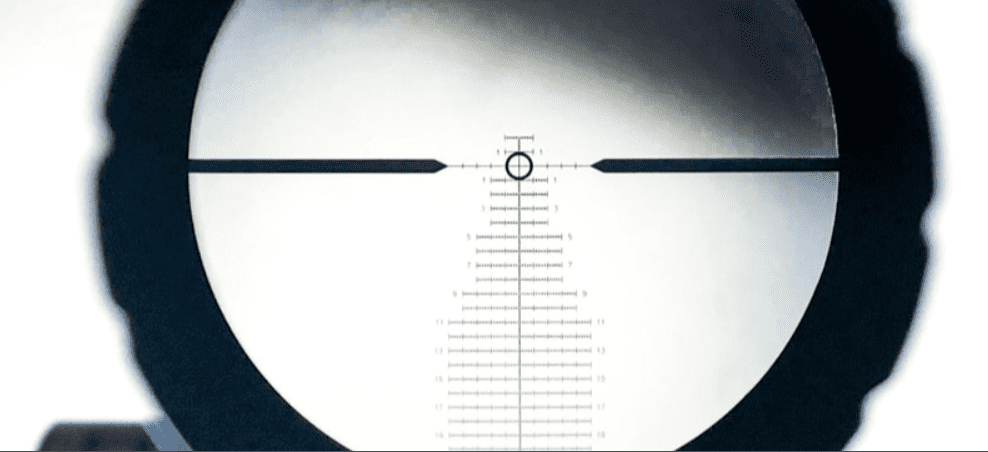
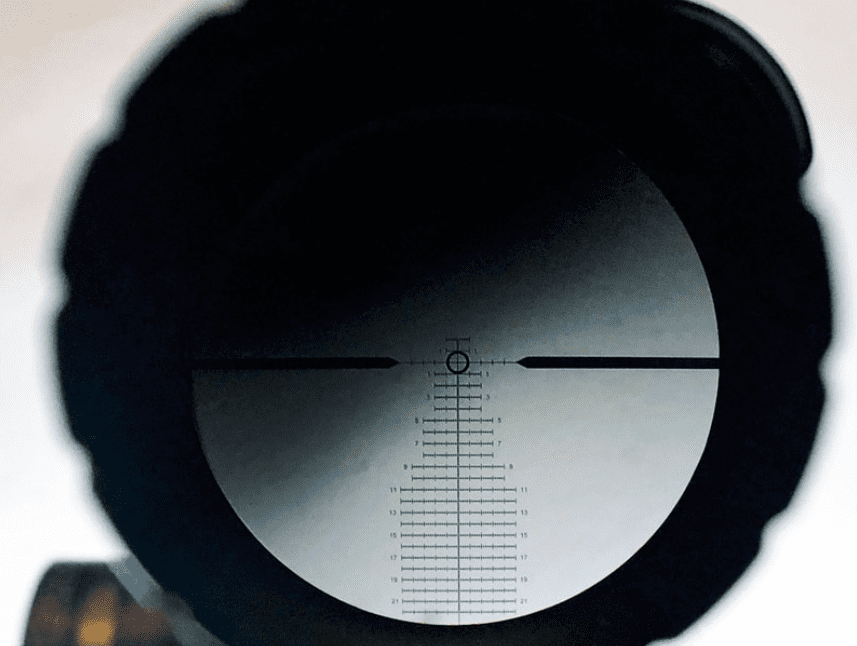
If you are more than 50% shadow or if you are squishing your face all the way down and you still got nothing, then you’ll want to look at least ½ inch of come up in your new mounts.
But What About My Eye Relief?!?!
Fret not young grasshoppers. As some of you may very well have noticed after changing your length of pull from Part 1 and now the height of comb of the stock in Part 2, you no longer now have a nice clean sight picture when you peer through your ocular lens. It probably looks something like this:
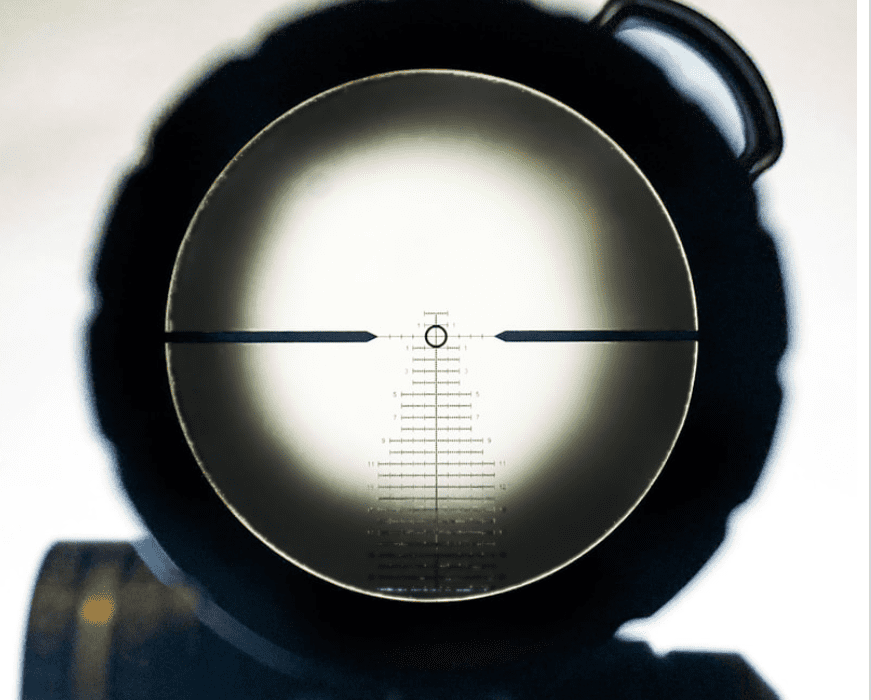
If that is in fact the case for you, grab your wrenches and Loctite and standby for “Precision Rifle Set Up – Part 3 – Optic Mounting“. Even if it looks good, the rest of you are probably going to want to tag along as well, knowledge is power!


One Response
[…] If You found this segment useful, stay tuned for the next post: “Precision Rifle Setup – Part 2 – Height of Comb“ […]